Tankless water heaters are a modern solution for on-demand hot water. However, regular maintenance, like flushing, is essential to ensure optimal performance and longevity. Over time, mineral deposits and limescale can build up inside the system, reducing efficiency and causing potential damage. In this guide, we’ll show you how to flush a tankless water heater step-by-step, so you can keep it running smoothly for years to come.
Table of Contents
ToggleWhy is Flushing a Tankless Water Heater Important?
Flushing your tankless water heater is crucial because it:
- Removes mineral buildup and limescale that can clog the system
- Boosts heating efficiency and reduces energy consumption
- Extends the lifespan of your water heater
- Prevents costly repairs caused by neglect
If your water heater isn’t heating water effectively or you notice a drop in water pressure, it might be time to perform a flush. For homes with hard water, more frequent flushing (every 6-12 months) is recommended.
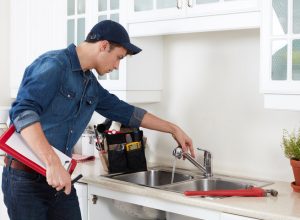
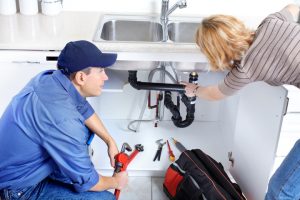
What You’ll Need for the Job:
To flush a tankless water heater, gather the following tools and materials:
- 5-gallon bucket
- Submersible pump
- White vinegar or a commercial descaling solution
- Two or three washing machine hoses
- Screwdriver
- Adjustable wrench (optional)
- Towels to catch spills
Step 1: Turn Off Power and Water Supply
Safety first! Before starting, turn off the power to your tankless water heater:
- For electric units: Flip the circuit breaker to the “off” position.
- For gas units: Shut off the gas supply and set the thermostat to “off.”
Next, close the water supply valves for both hot and cold water to isolate the water heater from your home’s plumbing.
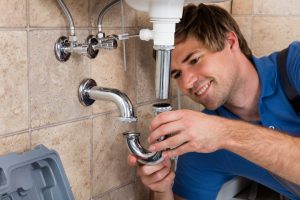
Step 2: Close Isolation Valves and Attach Hoses
Most tankless water heaters have isolation valves installed. Turn these to the “off” position. Then:
- Attach one hose to the cold water isolation valve and connect the other end to the submersible pump.
- Attach a second hose to the hot water isolation valve and place its other end into the 5-gallon bucket.
Step 3: Prepare the Cleaning Solution
Fill the bucket with about 4 gallons of white vinegar or a commercial descaling solution. Vinegar is a safe, effective, and affordable choice for removing mineral deposits.
Step 4: Circulate the Solution
- Submerge the pump in the bucket of vinegar or solution.
- Open the isolation valves to allow the solution to flow through the heater.
- Turn on the pump and let it circulate the solution through the water heater for 45 minutes to 1 hour. This process breaks down and flushes out limescale and debris.
Step 5: Rinse the System
After the descaling process:
- Turn off the pump and close the isolation valves.
- Disconnect the hoses and empty the remaining solution.
- Reconnect the cold and hot water supply lines.
- Open the cold water supply valve and flush clean water through the system for about 5 minutes to remove any residual solution.
Step 6: Restore Power and Test the Unit
Once the system is rinsed:
- Close all valves and ensure everything is reconnected.
- Turn the power or gas supply back on.
- Run hot water from a faucet to ensure the heater is working correctly and there are no leaks.
Tips for Maintaining Your Tankless Water Heater
- Install a water softener: This minimizes mineral buildup in hard water areas.
- Clean the inlet filter: Regularly check and clean the filter to prevent debris from entering the system.
- Schedule professional maintenance: Even with DIY care, a professional inspection once a year is beneficial.
Regular flushing ensures your tankless water heater operates efficiently, saves energy, and provides consistent hot water. With this simple maintenance routine, you can enjoy the benefits of your tankless water heater for years to come.