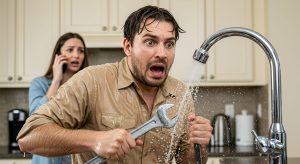
A plumbing emergency can escalate quickly from a small issue into major water damage, structural problems, and costly repairs. Whether it’s a burst pipe, overflowing toilet, sudden leak, or sewer backup, the first few minutes matter the most. What you do before a professional plumber arrives can significantly reduce damage and keep your home safer.
This guide walks you through clear, practical steps to handle a plumbing emergency calmly and effectively until help arrives.
Table of Contents
ToggleUnderstanding What Counts as a Plumbing Emergency
Not every plumbing issue is an emergency, but some situations require immediate action. Common plumbing emergencies include:
- Burst or leaking pipes
- Overflowing toilets that won’t stop
- Major water leaks from ceilings or walls
- Sewer backups or foul-smelling drains
- No running water in the entire home
- Water heater leaks or tank failure
These issues can quickly lead to flooding, mold growth, and property damage if not controlled early.
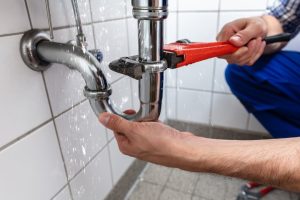
Step 1: Shut Off the Main Water Supply Immediately
The first and most important action in any plumbing emergency is to stop the flow of water.
Where to find the main shut-off valve:
- Near the water meter (often outside the house)
- In basements or utility rooms
- Along exterior walls of the home
Turn the valve clockwise to shut it off.
If the issue is isolated (like a toilet or sink), you may only need to turn off the local shut-off valve located under or behind the fixture.
Stopping water at the source prevents further flooding and minimizes damage instantly.
Step 2: Turn Off the Water Heater (If Necessary)
If the emergency involves hot water pipes or a major leak, it’s important to protect your water heater.
For electric water heaters:
- Turn off the power at the breaker panel
For gas water heaters:
- Turn the gas control valve to “off”
This prevents:
- Overheating
- Pressure buildup
- Damage to the tank
Never run a water heater when there is no water supply, as it can cause serious damage to the system.
Step 3: Drain Remaining Water in the System
After shutting off the main valve, there may still be water trapped in the pipes.
To relieve pressure:
- Turn on all faucets (hot and cold)
- Flush toilets once
- Let water drain out completely
This helps reduce residual pressure and minimizes further leakage.
Step 4: Contain the Water Damage
Even a short leak can cause significant damage to floors, walls, and furniture.
Quick containment steps:
- Use buckets to catch dripping water
- Place towels or mops around affected areas
- Move furniture, rugs, and electronics away from water
- Use plastic sheets or tarps for protection
If water is spreading quickly, focus on stopping its spread rather than cleaning immediately.
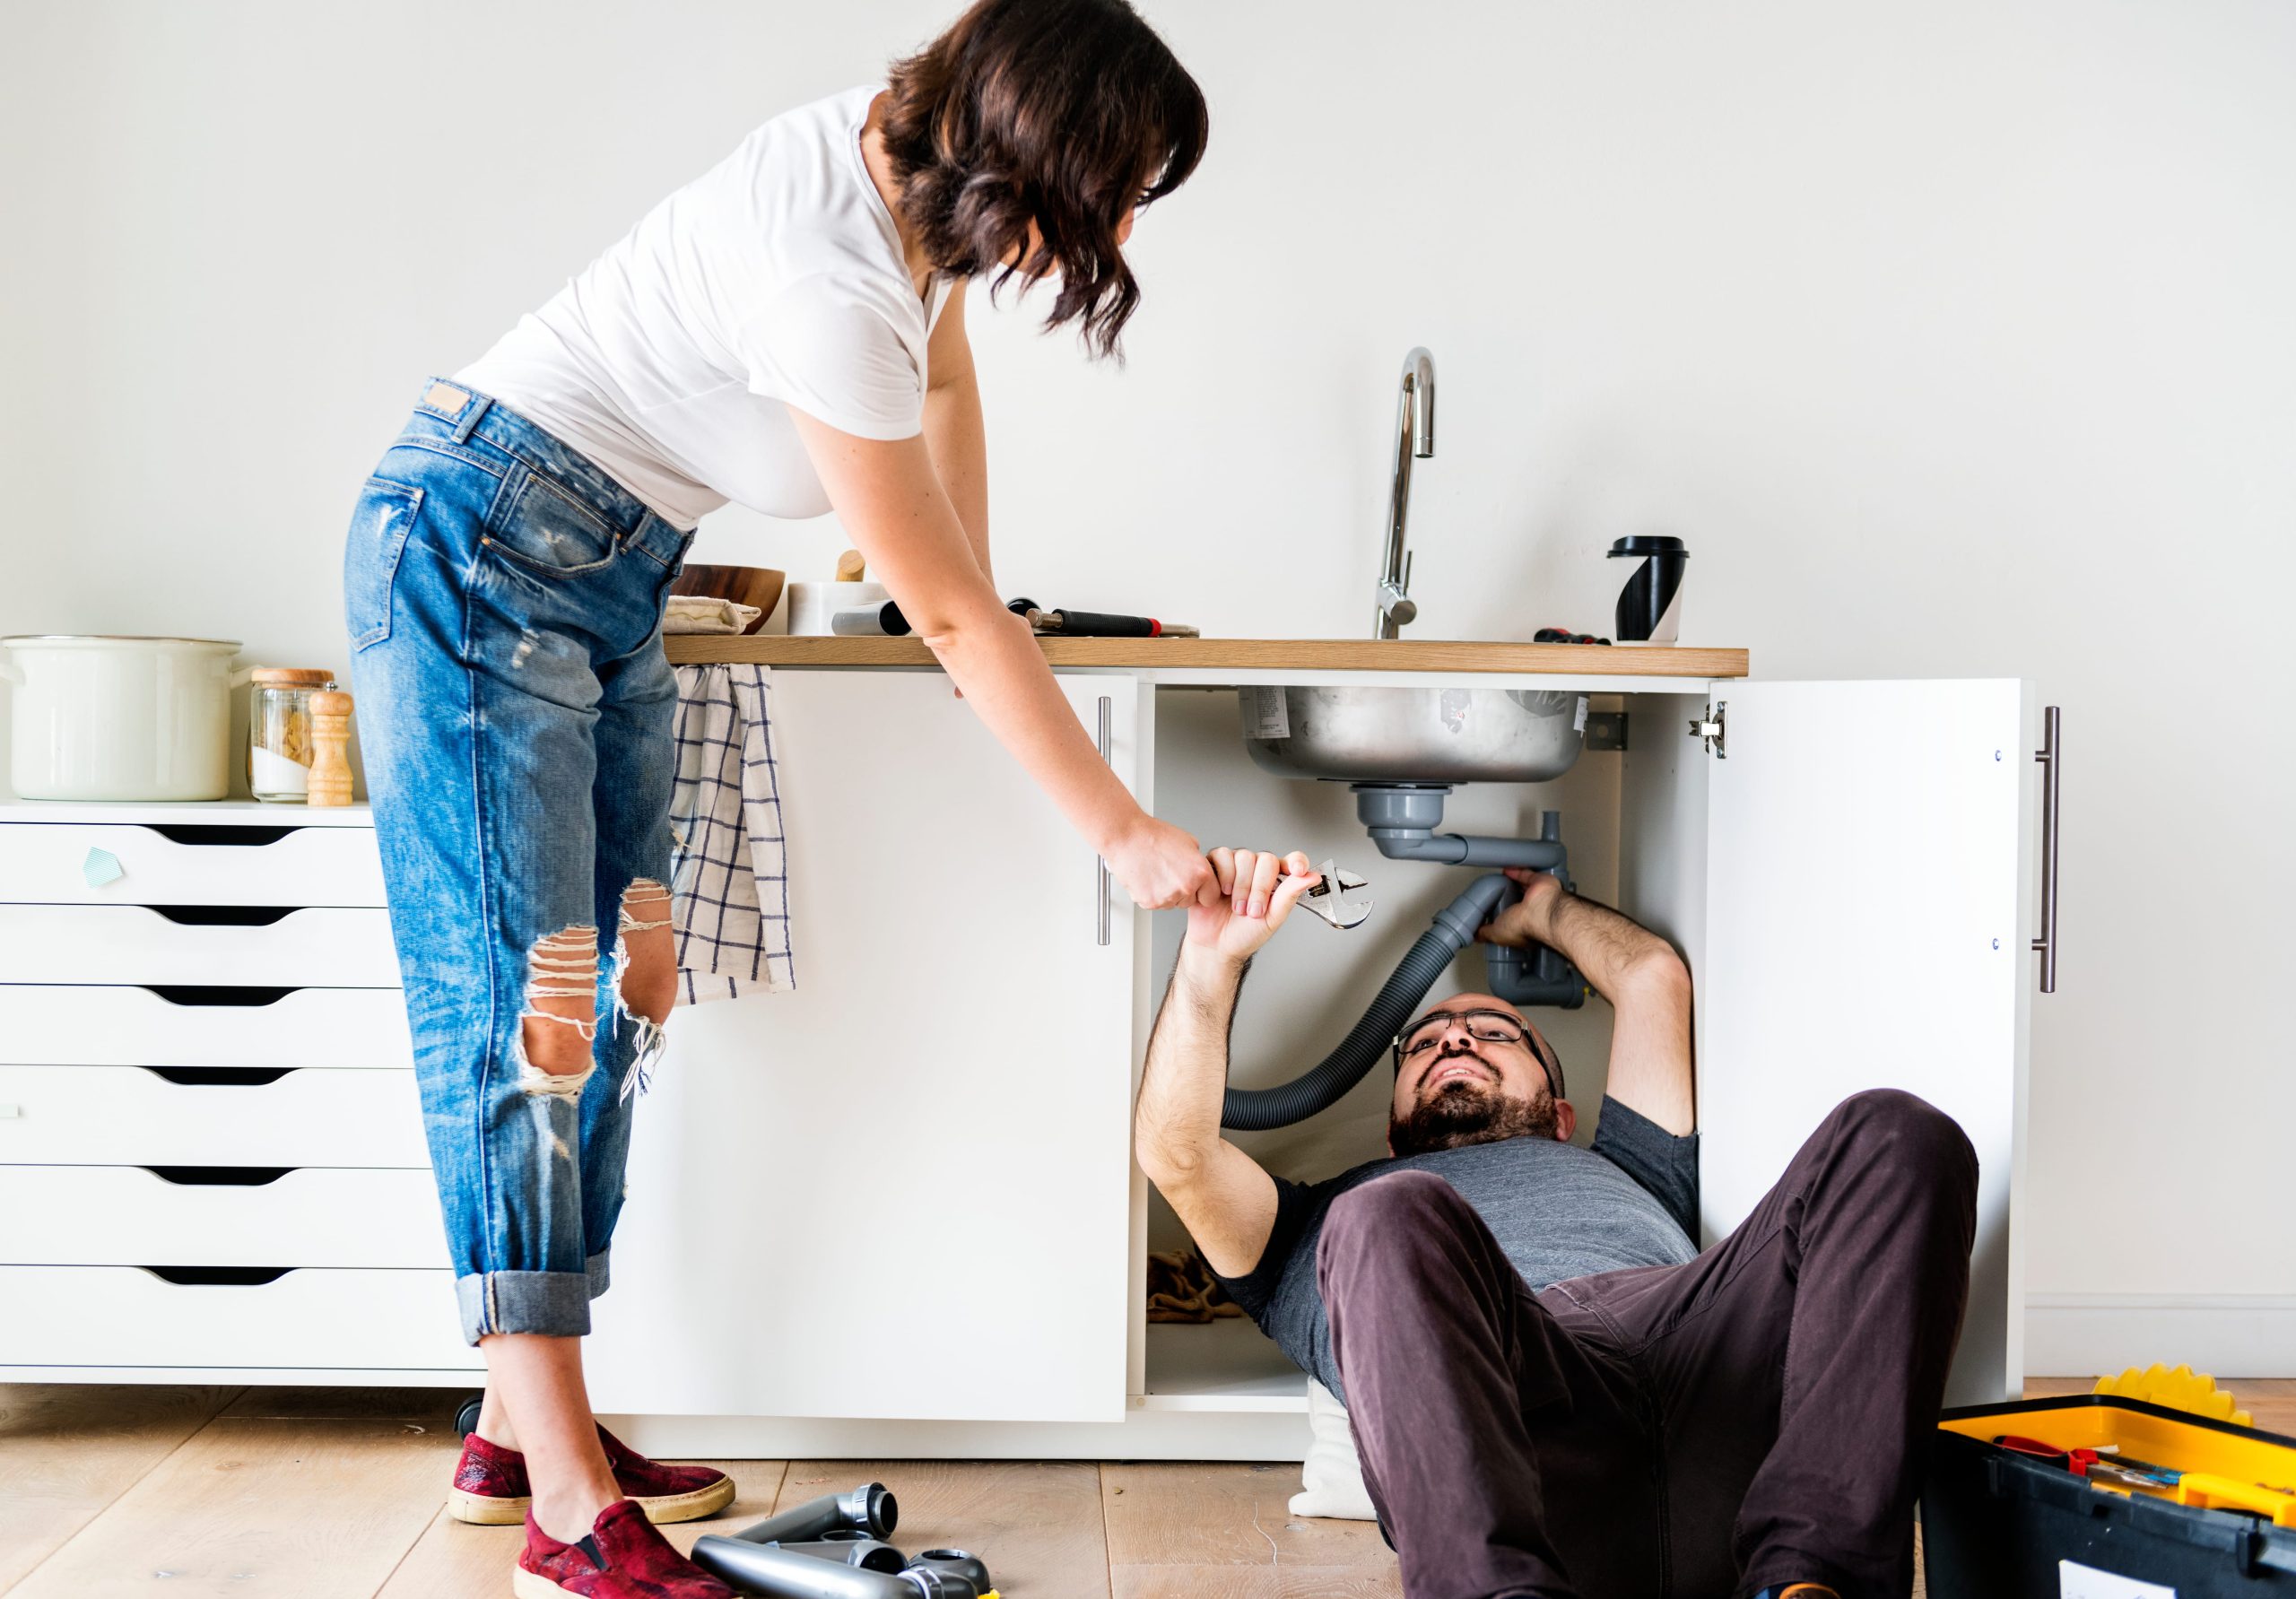
Step 5: Identify the Source (If Safe)
Try to locate where the problem is coming from, but only if it’s safe to do so.
Common sources include:
- Under-sink pipes
- Toilet base or tank
- Visible wall or ceiling leaks
- Outdoor pipe bursts
Avoid touching electrical outlets or appliances near water. If water is near electrical systems, stay away and wait for professionals.
Step 6: Turn Off Electricity in Affected Areas
Water and electricity are a dangerous combination.
If water is leaking near electrical outlets, appliances, or wiring:
- Switch off power from the breaker box
- Avoid stepping in standing water
- Do not use any electrical devices nearby
Safety should always come first during plumbing emergencies.
Step 7: Open Drains and Faucets to Reduce Pressure
Once the main water is off, open taps throughout the home to:
- Relieve pressure in pipes
- Help drain remaining water
- Prevent further leaks
Start from the highest floor and move downward for best results.
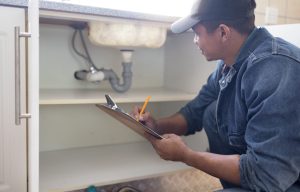
Step 8: Document the Damage
Before cleanup or repairs, take photos or videos of the damage.
This helps with:
- Insurance claims
- Repair assessments
- Proof of damage extent
Capture:
- Water source
- Damaged areas
- Furniture or belongings affected
Clear documentation can speed up claim processing later.
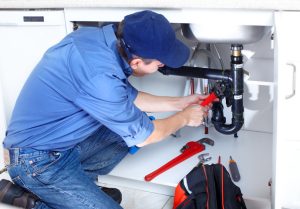
Step 9: Call a Professional Plumber Immediately
Once the situation is under control, contact a licensed plumber right away. The sooner a professional arrives, the faster permanent repairs can be made.
When explaining the issue, provide:
- Type of emergency (burst pipe, leak, backup)
- Location of the problem
- Steps already taken (water shut off, electricity turned off, etc.)
This helps the plumber prepare the right tools and parts in advance.
Step 10: Avoid Common Mistakes During Plumbing Emergencies
Many homeowners unintentionally make the situation worse. Avoid these mistakes:
❌ Ignoring small leaks
Even minor leaks can quickly become major damage.
❌ Using chemical drain cleaners
They can damage pipes and worsen clogs.
❌ Trying complex repairs yourself
Temporary fixes like sealing tape are fine, but avoid major repairs.
❌ Delaying professional help
Time is critical in preventing water damage and mold growth.
Handling Specific Plumbing Emergencies
Burst Pipes
- Shut off main water immediately
- Drain pipes
- Apply temporary pipe clamps or towels if possible
Overflowing Toilet
- Turn off toilet water valve
- Remove tank lid and stop water flow manually if needed
Sewer Backup
- Avoid using any water fixtures
- Keep distance from contaminated water
- Call a plumber immediately
Water Heater Leak
- Shut off water and power/gas supply
- Avoid using hot water until repaired
Preventing Future Plumbing Emergencies
While emergencies can happen unexpectedly, regular maintenance reduces risk significantly.
Preventive tips:
- Inspect pipes regularly for leaks
- Avoid flushing non-degradable items
- Schedule annual plumbing inspections
- Install water leak detectors
- Clean drains periodically
Prevention is always cheaper than emergency repair.
Final Thoughts
A plumbing emergency can feel overwhelming, but quick and correct action can drastically reduce damage. The key steps are simple: stop the water, ensure safety, contain the damage, and call a professional immediately.
Knowing what to do before help arrives can protect your home, reduce repair costs, and prevent long-term issues like mold and structural damage.